
Spectral Editing at Audacity: Audacity is fun and easy to use. It offers a wide variety of features, and the best part is that you can easily use these features. From recording to editing to customizing and saving, everything is offered through Audacity. You can enhance your audios and recordings to make them sound beautiful.
- Sponsored Links -
It also helps you remove all the unwanted noise and sounds. Among all the other features, one very interesting feature that Audacity offers Spectral Selection. This feature helps you select frequency and time range in the Spectrogram view of your track.
If you have used Spectral Solution, then you might have experienced this. There are chances that you might have wished to edit your spectral solution, but didn’t know how to edit them. So, here are all the basic steps of spectral editing:
Spectral selection editing
The spectral edit tool is used to add special effects to your spectral selection. When you make a spectral selection, all the effects are easily available on the screen. Spectral editing includes various tools like spectral editing multi-tool, spectral edit parametric EQ, and spectral edit shelves. Below are the details of the latter two tools of spectral editing.
Spectral edit multi-tool
- You can use this editing tool to remove a part of the frequency range in spectral selection.
- This effect can help you do various things.
- It will display an error message when the track in Spectrogram is not enabled with Spectral selection.
- It can also perform as a notch filter.
- Along with this, it can perform as a high pass filter or a low pass filter with the cutoff frequency defined by the lower or upper boundary in the spectral selection.
- If you have defined neither the upper nor the lower frequencies, it will again display an error message.
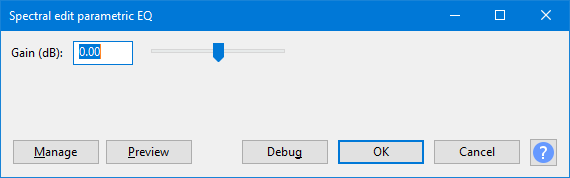
Spectral edit parametric EQ
This tool can be used to equalize the spectral selection. It can also help in modifying and changing (reducing and boosting) the amplitude of the frequency that you have selected. This effect will result in many variants, depending on the spectral selection.
- It will display an error message if the track is not enabled with spectral selection.
- It will work as a band boost or band cut, according to the value that you enter in “Gain(dB)” control when the selection has a center frequency and an upper or lower boundary.
- When you have not defined the upper or lower boundary then it will again display an error message.
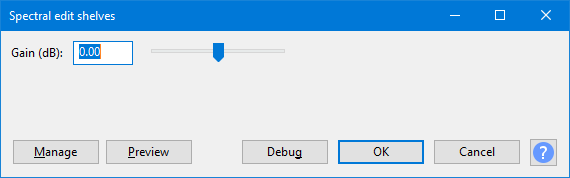
Spectral edit shelves
This is a filter that you can use when you don’t want to reduce the bass or frequency in the spectral selection. It can also help you boost up the frequencies. Alike other editing features, it will also display an error message when the track is not spectral selection enabled. This can help you in adjusting the frequencies by cutting or boosting them.
Read more articles.


