
Recording some form of audio? Need some help? We have something here that can help you. Audacity is a free website that helps you record your audio tracks easily, and is in Windows.
- Sponsored Links -
It supports all types of single-track and multiple–track recordings. Also, it allows for editing and customizing your tracks. Various options for enhancing your audio tracks are also available at Audacity. Though it is free software, but it is as good as other premium paid software. Audacity brings the best features for audio and track recordings.
One such feature is spectral selection. If you are using Audacity for the first time, or don’t know about this feature, below are all the necessary details that you need to know.
What is Spectral selection?
Spectral selection is a feature in Audacity that is used to select frequency range and time range on tracks in the Spectrogram view. It has many editing effects so that you can easily make changes to the frequency of the audio that has been selected.
Also, you can use a spectral solution to remove unwanted noise and sound for your audio. You can also enhance resonances, change voice quality, and remove unnecessary noise and sounds from your audio.
This feature has helped a lot of people, and many really appreciate using it as part of their audio creation and editing process. It helps you to enhance your audio tracks and makes it sound beautiful and better. Also, spectral selection can be used to remove a single frequency only with some harmonics. While using this feature, time-based selection techniques are also available so that you can easily define the range of time of the spectral solution.
How to make a Spectral selection?
The following steps explain how to make a spectral solution in Audacity.
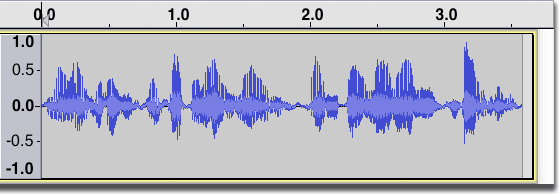
First off, you will need to define a time range for your Spectrogram. For that, move to the position that you want to be your approximate center frequency, then click and drag your selection horizontally.
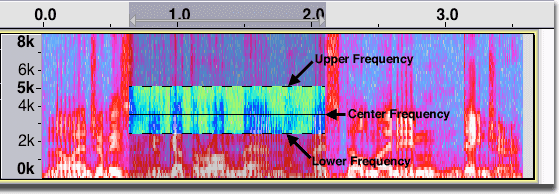
Then, you will find a horizontal line that will tell you the center frequency.
After this, you can move vertically to define bandwidth. Now, you’ll see a box with frequency and time range, which is the spectral solution.
Adjusting and storing the frequency range
When you drag the cursor to the center frequency, it takes the shape of a triangle. This triangle denotes that you can drag the center frequency. And, you can drag the spectral solution box by holding down the Shift key and the left click.
You can add the frequency range of the spectral solution by labeling a time region. In case you want to change the low frequency or the high frequency or both, you can choose edit and then labels editor.
Toggling the Spectral selection
You can turn the spectral solution on or off. And, you can use the shortcut by pressing the ‘Q’ key. This will help you remove or restore the spectral selection. Click here to learn more.
Read more articles.


